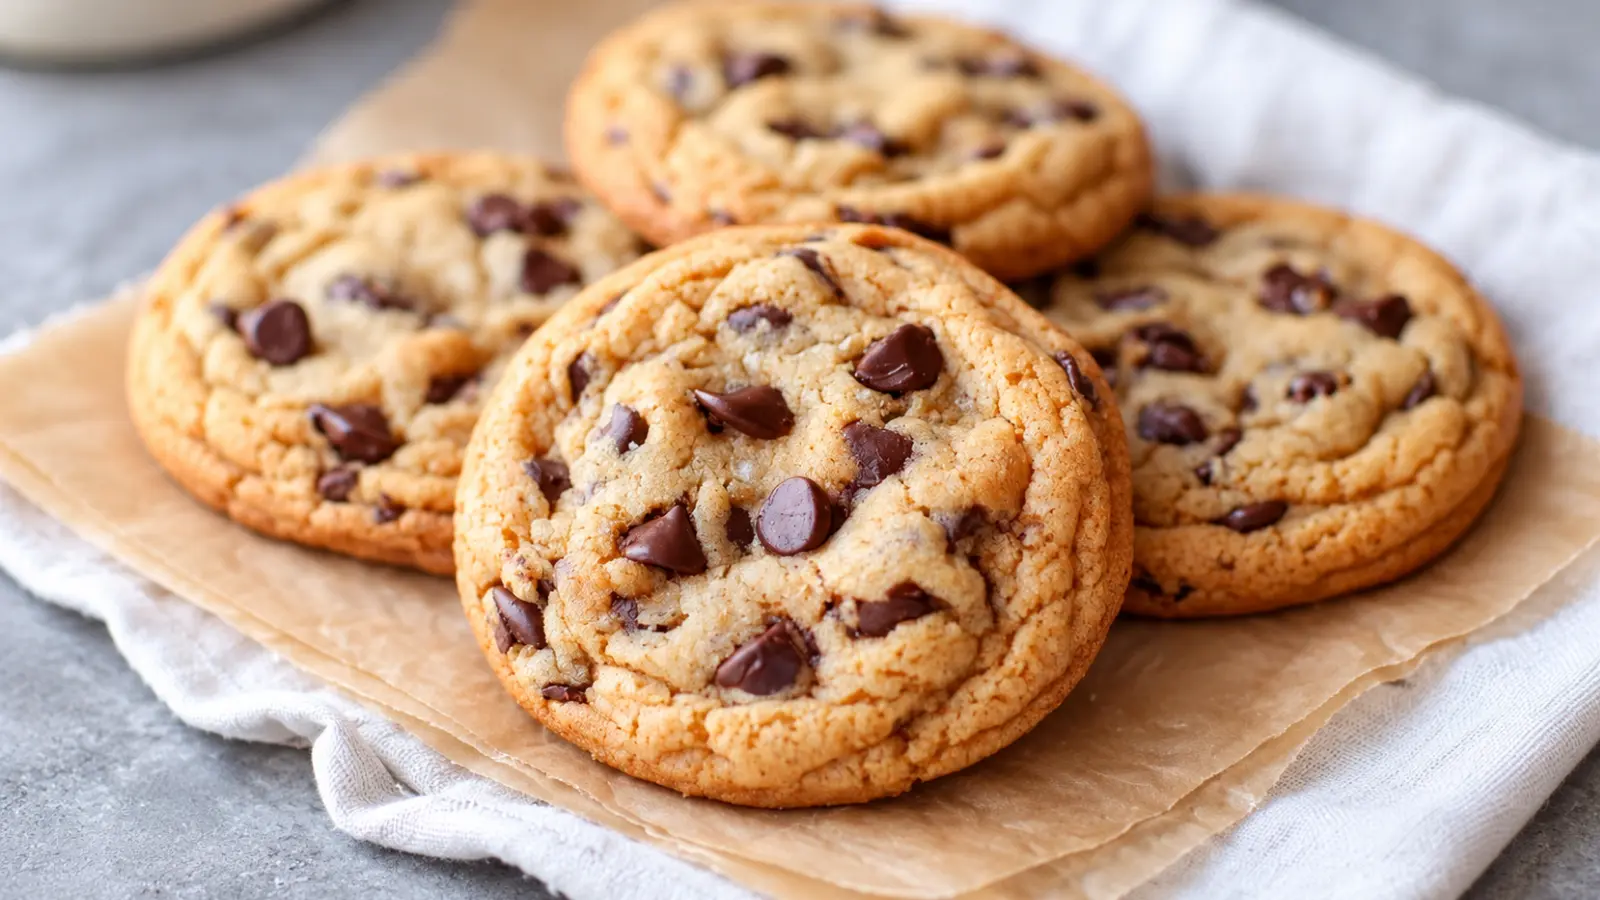
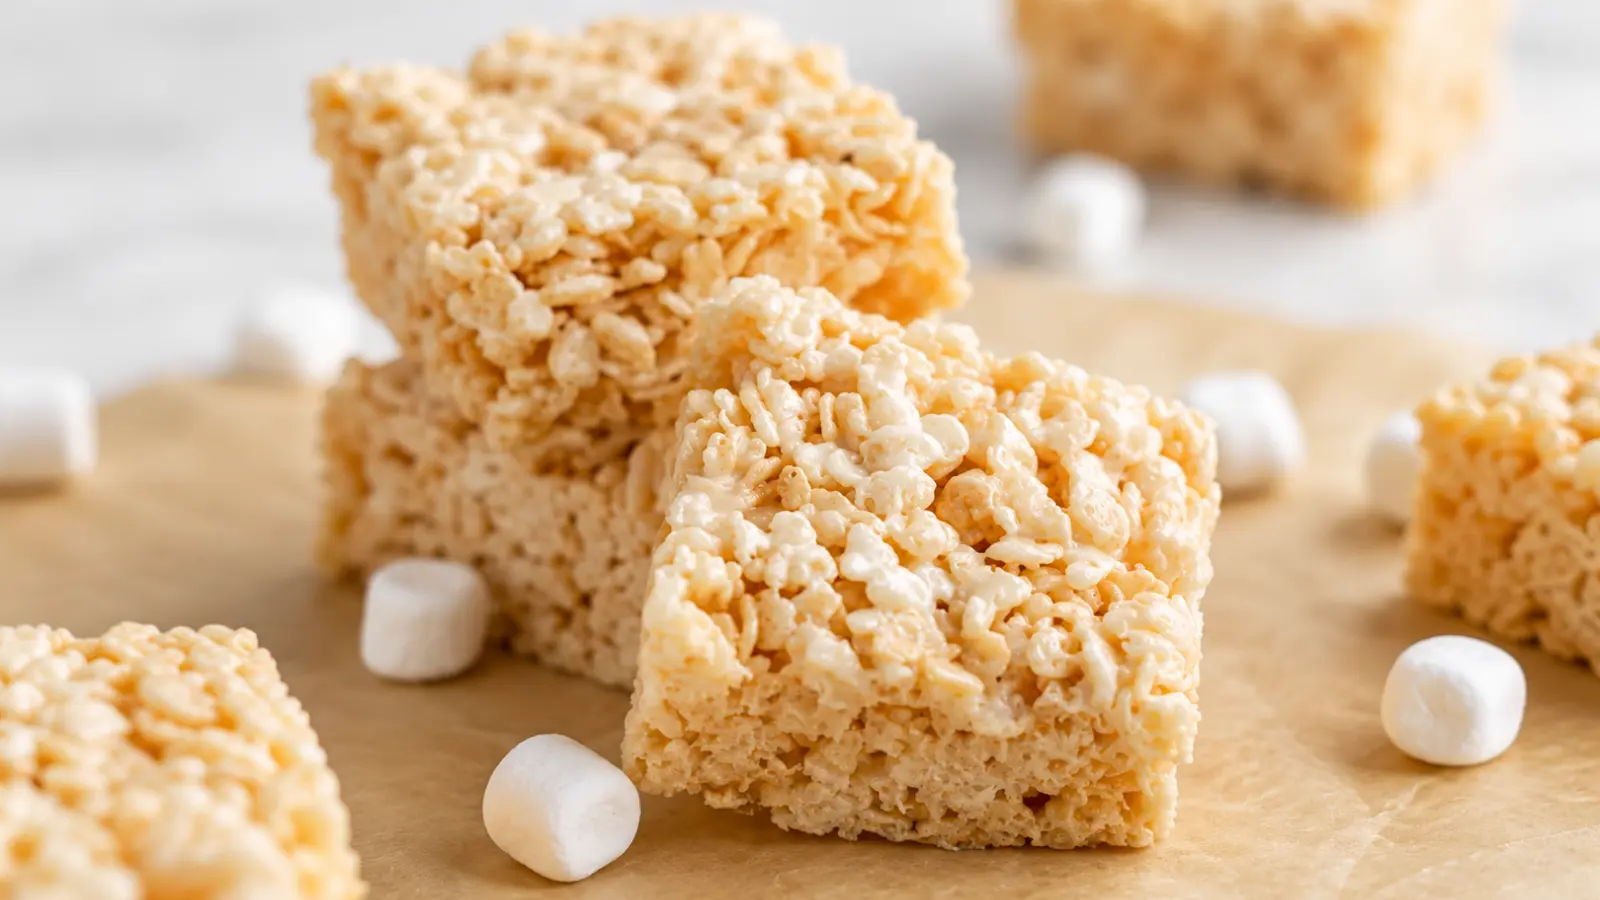
These Rice Krispie treats are soft, chewy, and lightly buttery, with crisp cereal in every bite and just enough melted marshmallow to hold the squares together. The classic three-ingredient recipe comes together on the stovetop with butter, marshmallows, and crisp rice cereal—no oven needed.
The key to keeping the bars tender is gentle handling. Melt the marshmallows over low heat, stir in the cereal off the burner, and press the mixture into the pan lightly instead of packing it down. Once the treats have cooled and set, they cut cleanly into classic marshmallow cereal squares.
What to Know About the Three Ingredients
Plain butter, fresh marshmallows, and fresh cereal are all this recipe needs, and each one is easy to get slightly wrong.
Marshmallows. Use mini marshmallows from a newly opened 10-ounce bag. They melt quickly and evenly, and fresh marshmallows are the one ingredient the original recipe specifically flags. Regular marshmallows work too (about 40 make one 10-ounce bag), but they take longer to melt.
Butter. Real butter melts the marshmallows smoothly and adds flavor. Unsalted gives you control over the salt; salted is fine if that is what you have. The original recipe advises against diet or tub margarine.
Cereal. Level your cup measures, or weigh the cereal: six cups is about 158 grams, though brands and pouring methods vary. Extra cereal leaves too little marshmallow to hold the bars together, which is the usual reason treats turn dry and crumbly.
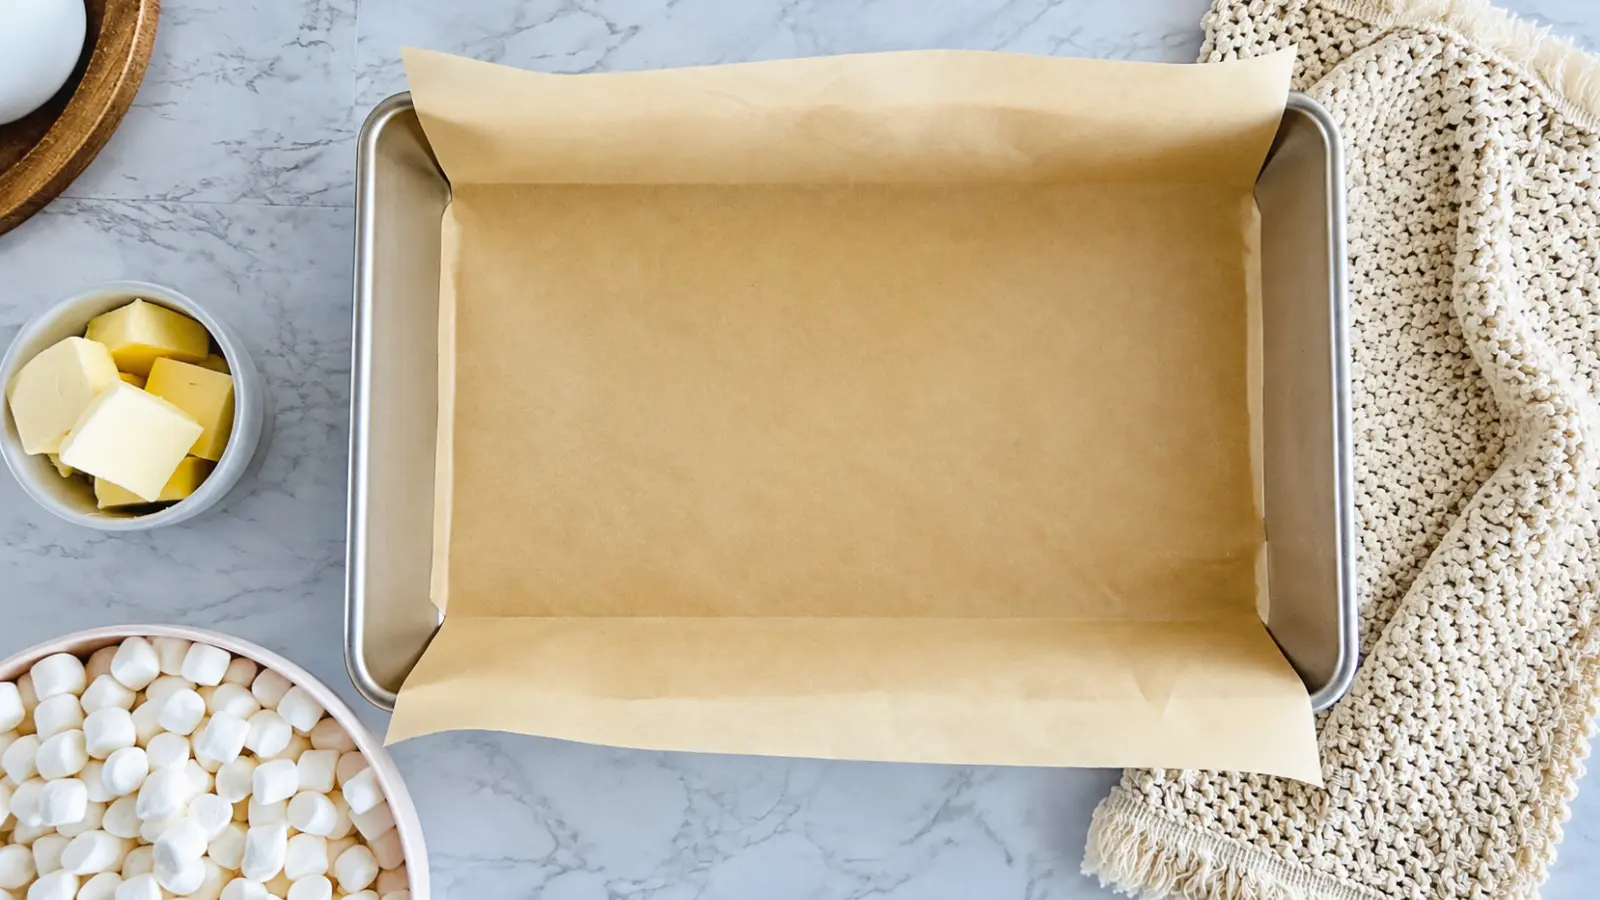
Pan. A 9×13-inch pan lined with parchment gives classic, fairly thin bars, and the parchment overhang lets you lift the whole slab out to cut it. For thicker bars, press the same mixture into a 9-inch square pan and cut it the same way.
How to Keep Rice Krispie Treats Soft and Chewy
Melt the marshmallows over low heat just until smooth, take the pot off the burner, and press the mixture into the pan gently. Those three habits matter more than any extra ingredient.
Marshmallow is mostly sugar, and sugar that gets too hot sets harder as it cools. Keep the heat low, stir constantly, and pull the pot as soon as the last lumps disappear; the leftover heat melts any stragglers. Stir the cereal in off the heat, folding and scraping rather than beating it, so the pieces stay whole.
The cereal also traps tiny pockets of air, and pressing hard squeezes them out. A few gentle strokes with a buttered spatula or a piece of wax paper are enough. The mixture sets quickly as it cools, so measure the cereal and prepare the pan before the marshmallows go on the heat.
Classic Rice Krispie Treats
Soft, chewy squares made with butter, marshmallows, and crisp rice cereal in one pot
Stored in this browser. Check off items as you shop.
Ingredient quantities change with servings. Metric amounts appear when an equivalent is available. Cooking times, temperatures and method steps do not scale automatically.
Ingredients
Measurement help for this recipe
Metric equivalents use the values entered for this recipe or GUSTANA conversion data when available. Ingredients without an equivalent remain in their original units.
| 3 tablespoons unsalted butter | 43 g |
| 10 ounces (by weight) mini marshmallows | 283 g |
| 6 cups crisp rice cereal | 158 g |
Instructions
- Line a 9×13-inch pan with parchment paper, leaving an overhang on the two long sides. Lightly butter or spray the parchment. Measure the cereal into a large bowl.
The mixture sets fast, so have the pan and cereal ready before the marshmallows go on the heat.

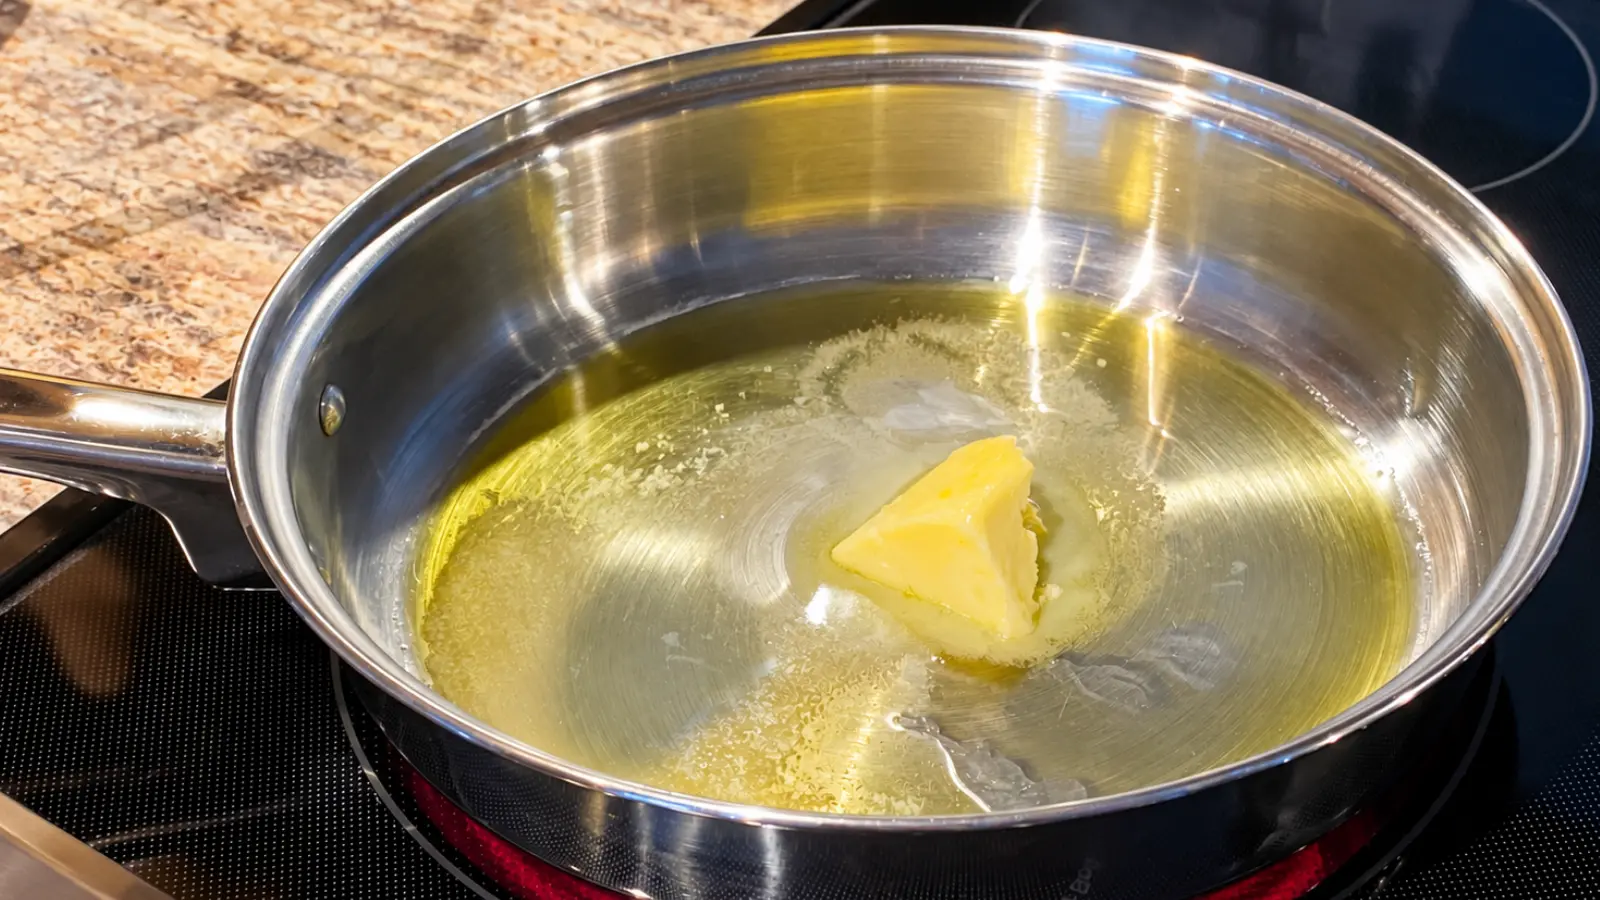
- Melt the butter in a large pot (about 4 quarts) over low heat. Do not let it brown.
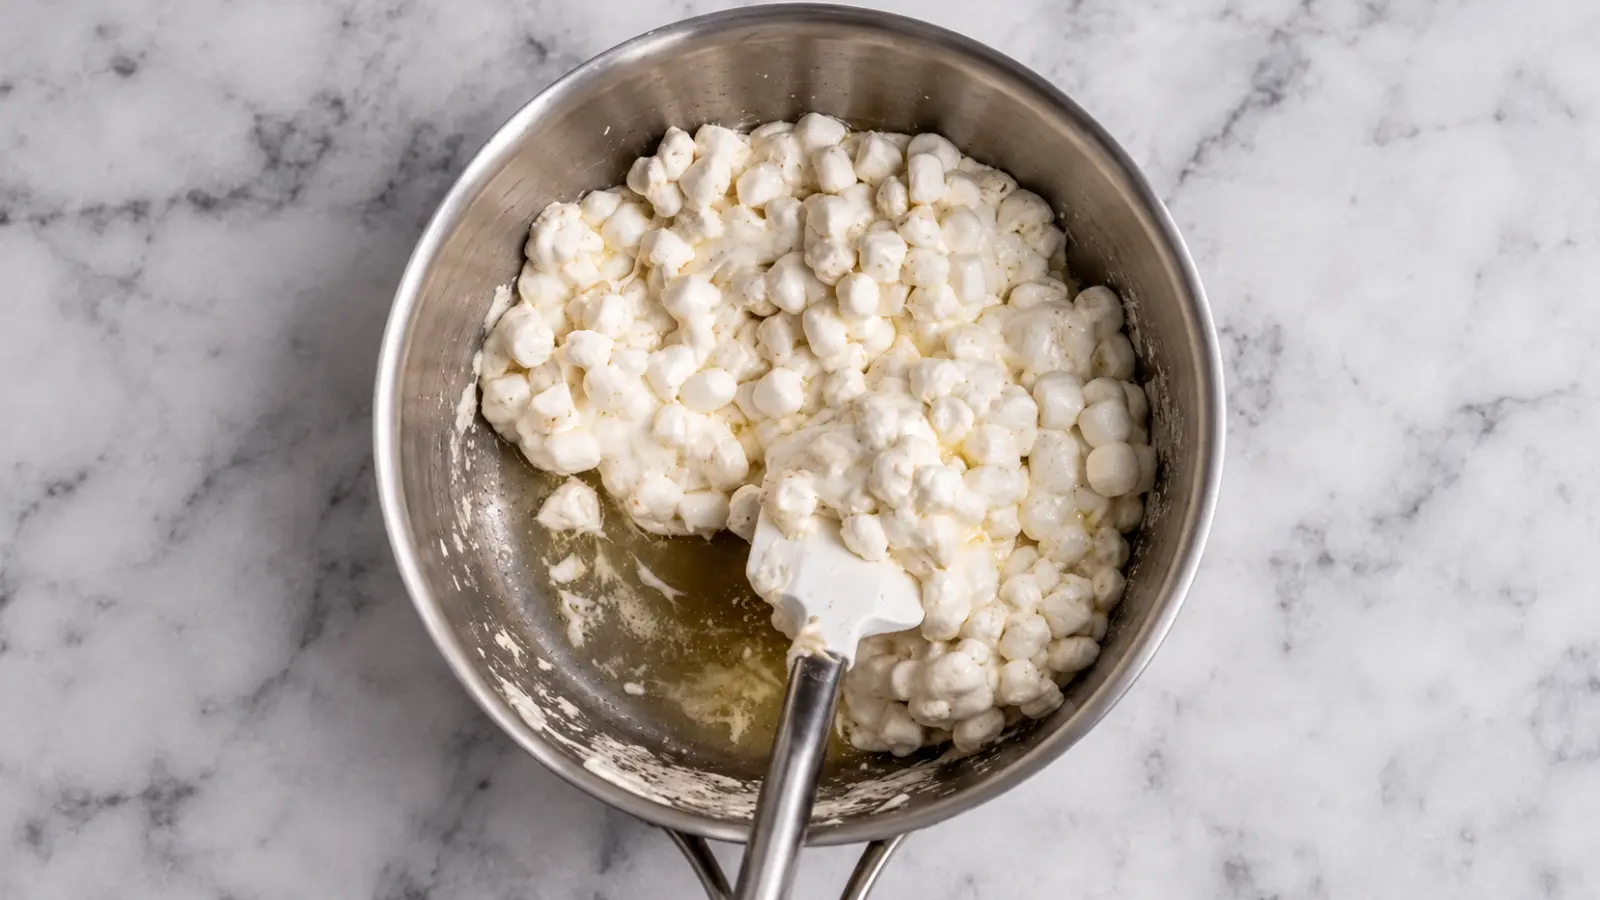
- Add the marshmallows. Stir constantly with a silicone spatula over low heat until completely melted and smooth, about 3 to 5 minutes. Remove the pot from the heat as soon as no lumps remain.
Do not let the mixture bubble; overheated marshmallow cools into harder bars.
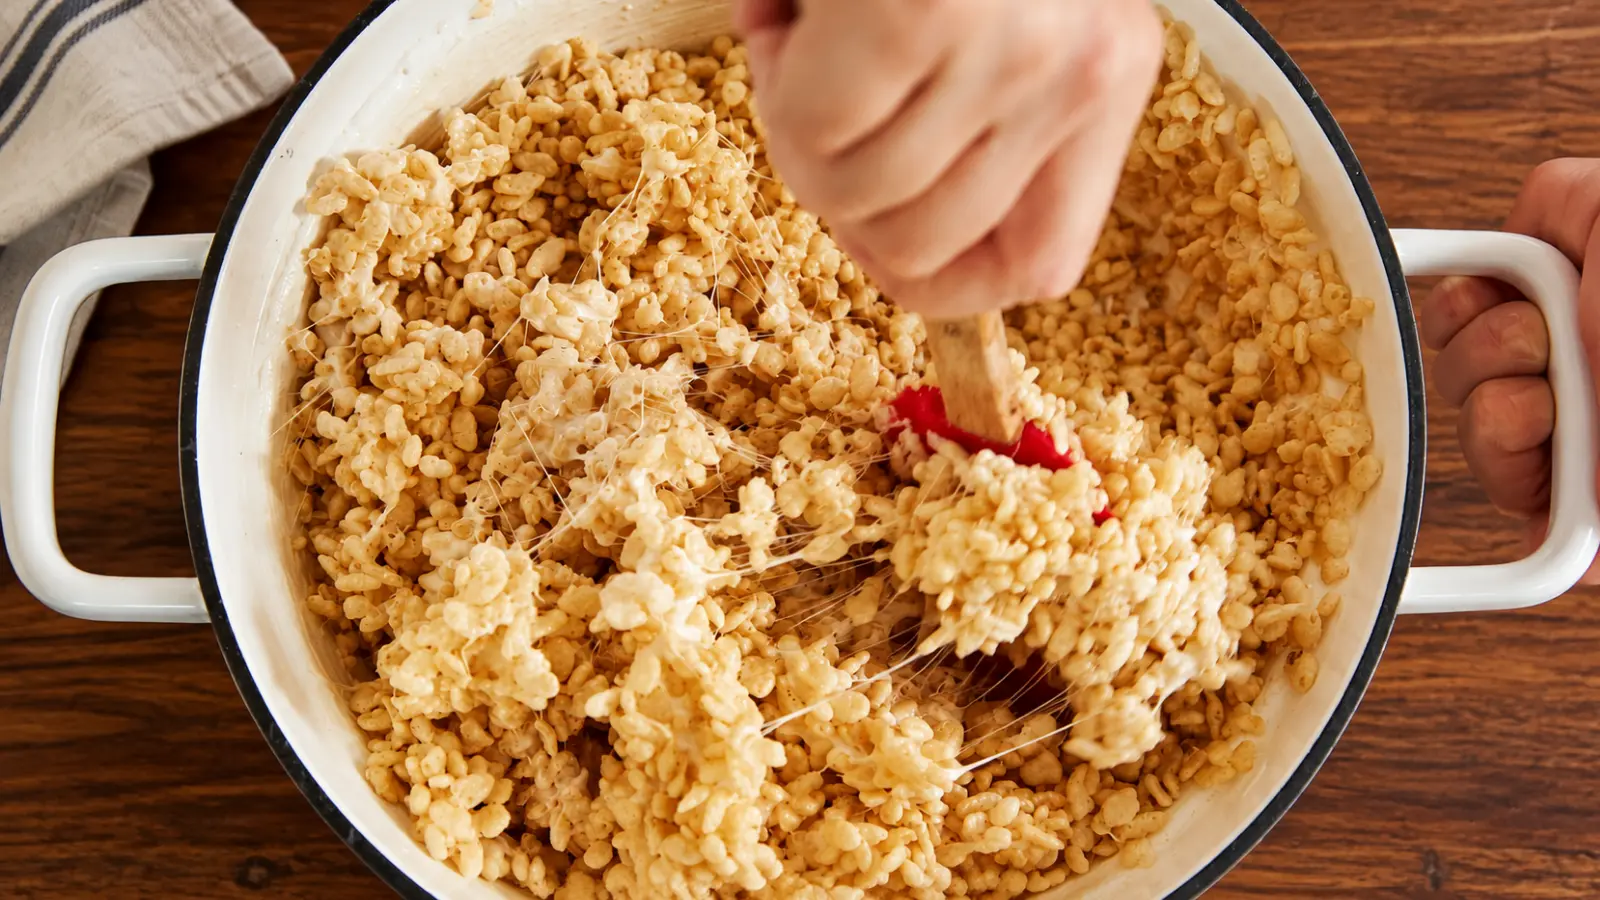
- Add the cereal all at once. Fold and scrape for about 1 minute, until every piece is coated and the cereal still looks whole.
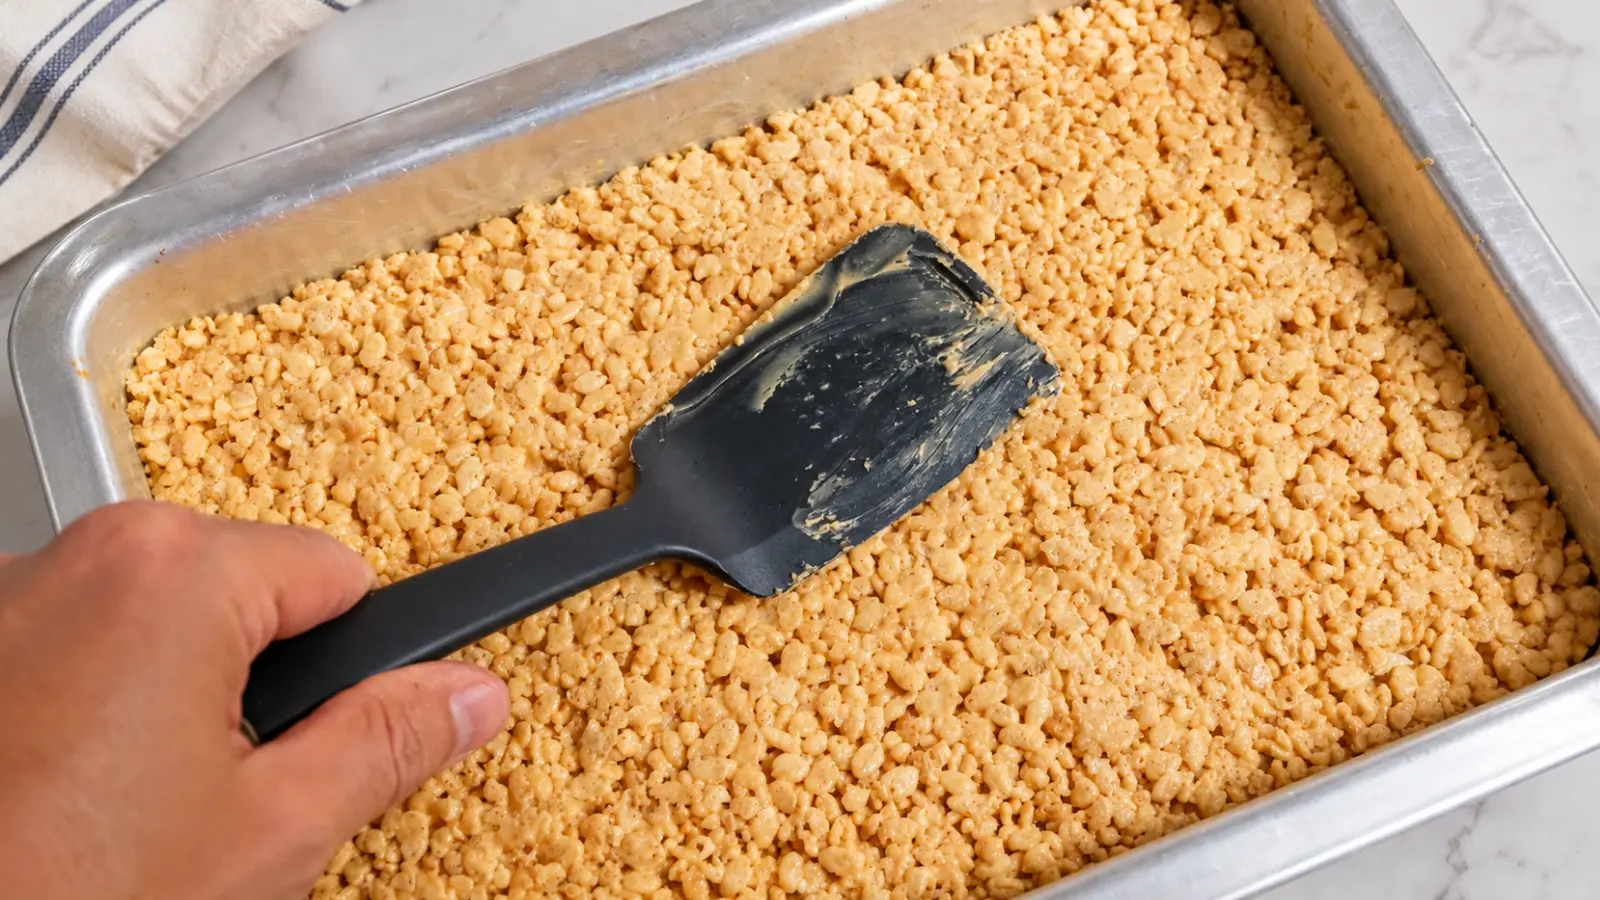
- Scrape the mixture into the prepared pan. Using a buttered spatula or a sheet of wax paper, press just enough to level it into an even layer.
Pressing hard squeezes out the air pockets and makes dense bars.
- Let the pan stand at room temperature for at least 30 minutes, until the surface is no longer warm and the slab feels set.
Cutting too early makes the knife drag long marshmallow strands.
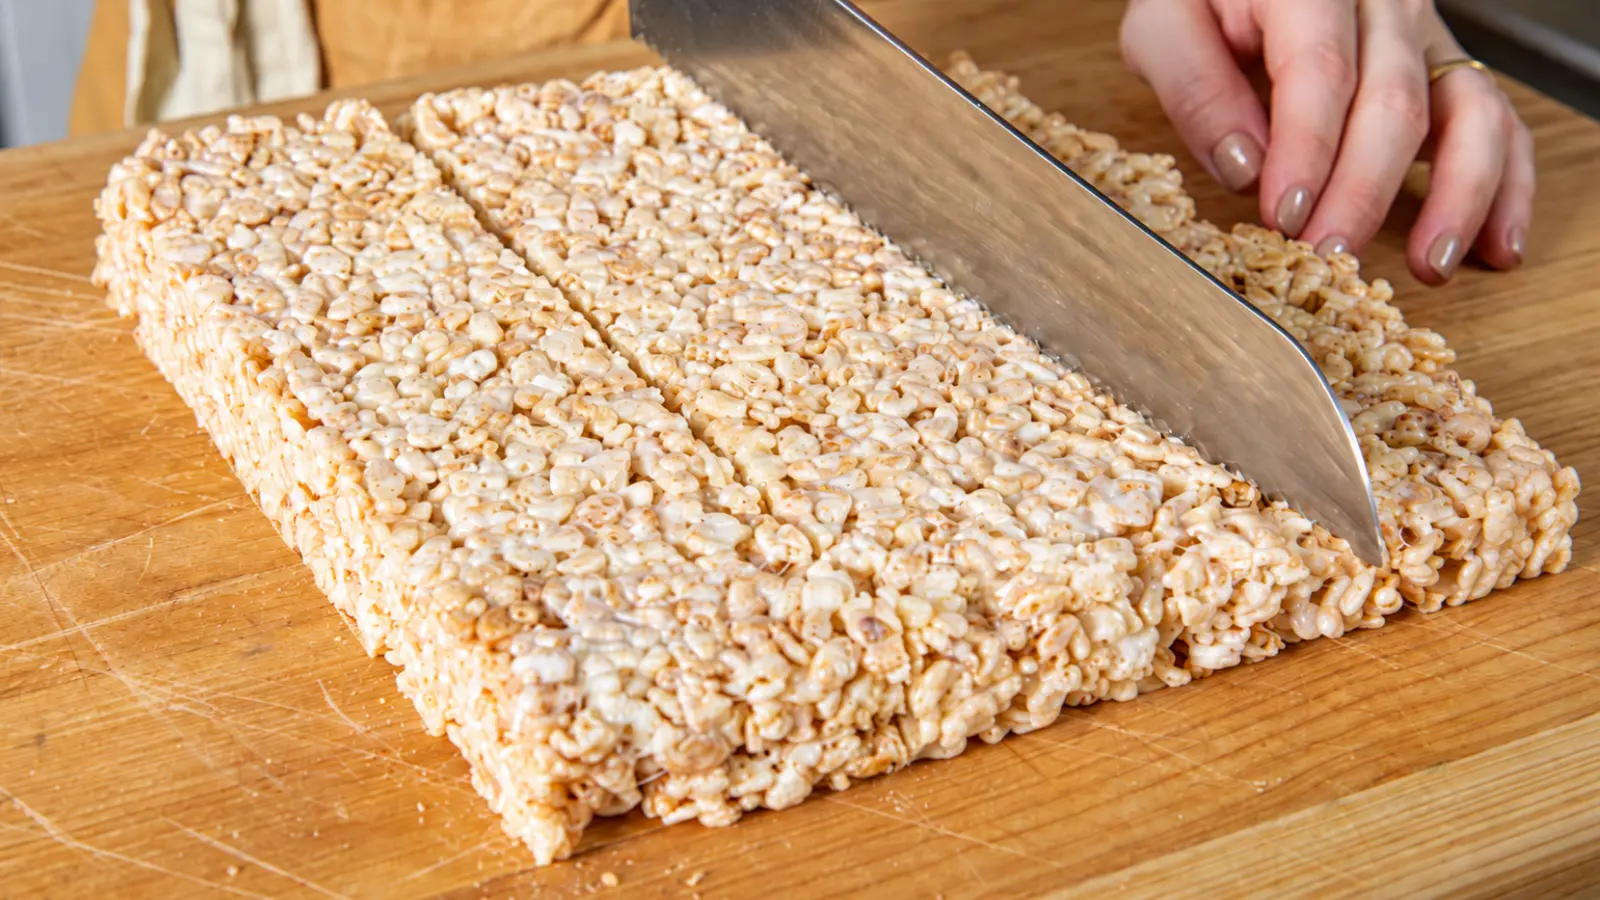
- Lift the slab out by the parchment. With a lightly greased long knife, cut four rows in one direction and four in the other to make 16 bars, wiping the blade as needed.
Cut on a board, not in the pan, for clean edges.
Recipe Notes
- Use a fresh bag of mini marshmallows and fresh cereal.
- Keep the heat low and take the pot off the burner as soon as the marshmallows are smooth.
- Measure the cereal in level cups or weigh it (6 cups is about 158 g).
- Fold the cereal in gently and press the mixture lightly into the pan.
- For thicker bars, press the same mixture into a 9-inch square pan.
- Do not use diet or tub margarine.
- Store airtight at room temperature for up to 2 days. Freeze up to 6 weeks, layered between wax paper, and let stand 15 minutes before serving.
- Contains milk. Check cereal and marshmallow labels for other dietary needs (the cereal lists malt flavor).
Nutrition (per serving, estimated)
- Serving size: 1 bar (1 of 16)
- Calories: 115 kcal
- Total Carbohydrate: 23 g
- Sugars: 11 g
- Total Fat: 2 g
- Saturated Fat: 1.5 g
- Protein: 1 g
- Sodium: 70 mg
- Cholesterol: 6 mg
- Fiber: 0 g
My Recipe Notes Private notes for next time
These notes are stored only in this browser.
How to Cut Rice Krispie Treats Cleanly
Let the pan cool for at least 30 minutes, until the surface is no longer warm and the slab feels set. Lift it out by the parchment and cut on a board with a long knife, greased very lightly with butter or cooking spray. Wipe the blade between cuts if marshmallow builds up. Cut four rows one way and four the other for 16 bars. Serve at room temperature.
How to Store and Freeze Rice Krispie Treats
Store cooled bars in an airtight container at room temperature for up to 2 days, with parchment between layers if you stack them. They are at their best the day they are made, while the cereal is still crisp and the marshmallow is soft.
To freeze, layer the bars between sheets of wax paper in an airtight container for up to 6 weeks, then let them stand at room temperature for about 15 minutes before serving. Expect the texture to be a little less crisp than a fresh batch. For lunchboxes and parties, wrap cooled bars individually in parchment.
Helpful Tools for This Recipe
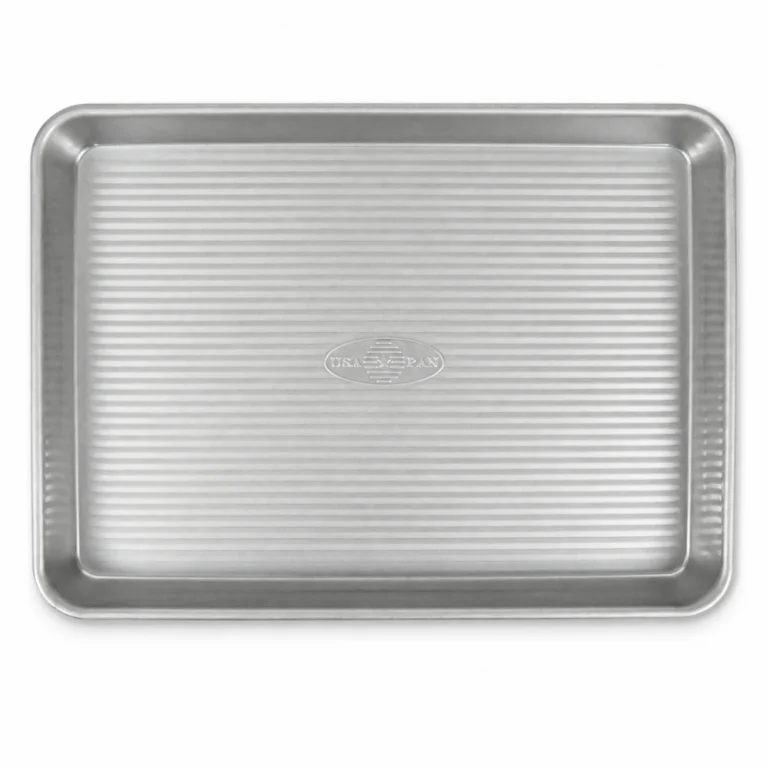
Nonstick Quarter Sheet Pan in Aluminized Steel
Provides a shallow tray for spreading the warm cereal mixture and letting it firm up before cutting into bars
View on Amazon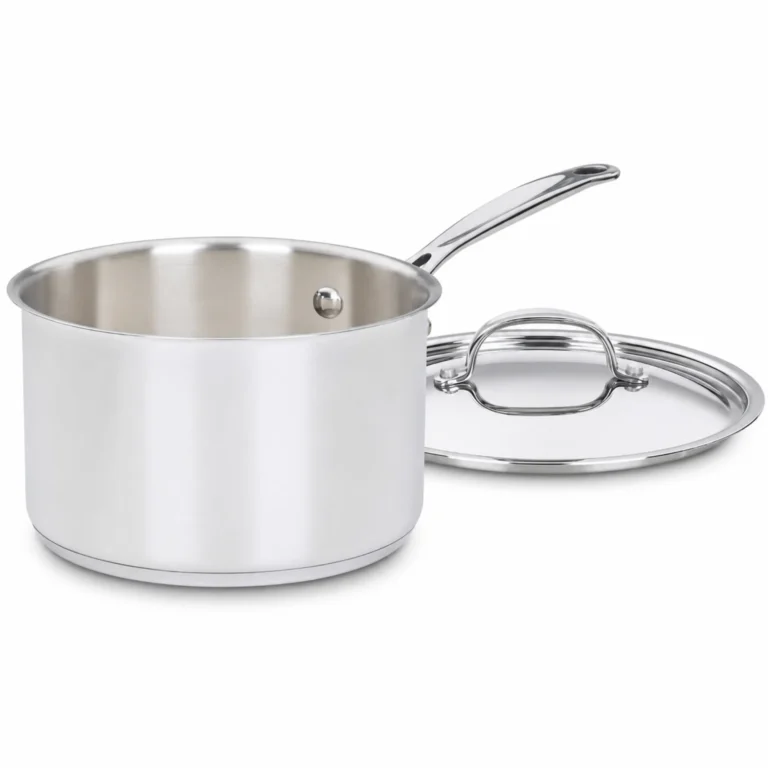
4-Quart Stainless Steel Saucepan with Cover
Melts butter and marshmallows gently over low heat, with room to fold in the cereal before shaping the treats
View on Amazon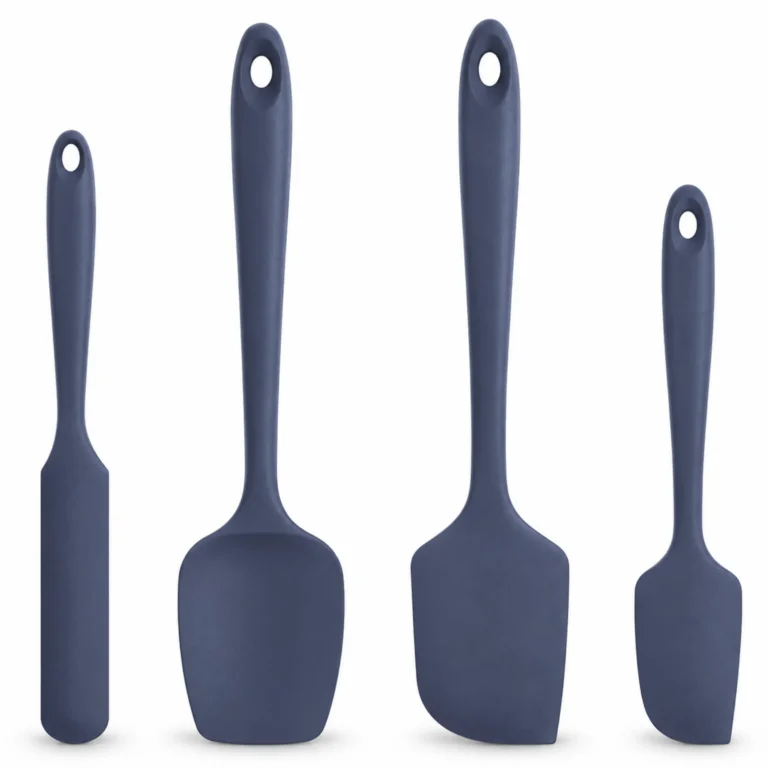
4-Piece Heat-Resistant Silicone Spatula Set
Stirs melted marshmallows and folds in crisp rice cereal while helping scrape every last bit from the pot
View on Amazon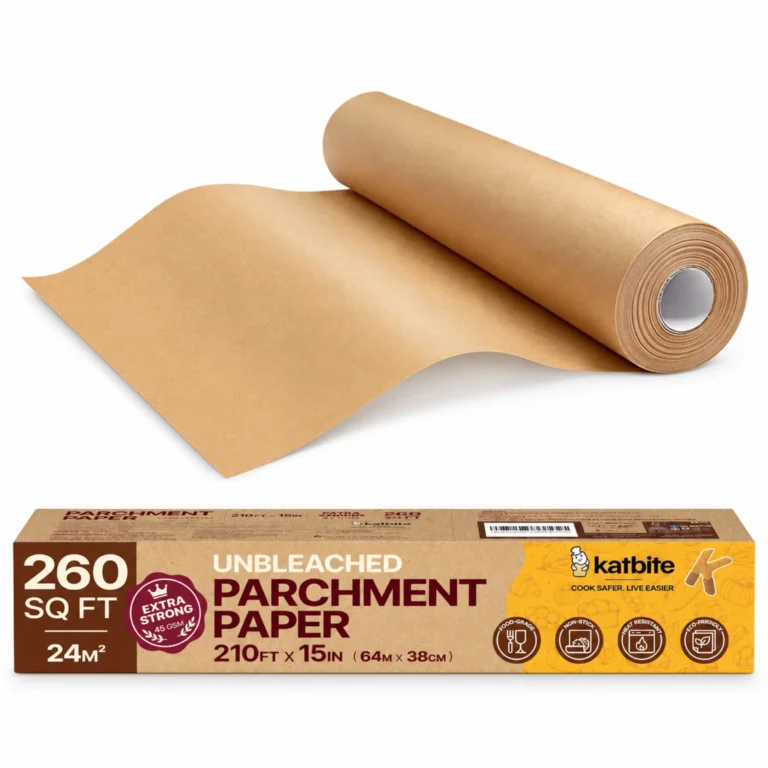
15-Inch Unbleached Nonstick Parchment Paper Roll
Lines the pan to prevent sticking and helps you lift cooled cereal treats out cleanly for easier cutting
View on AmazonSome links may be affiliate links. If you purchase through them, GUSTANA may earn a commission at no extra cost to you.
Frequently Asked Questions
Can I use regular marshmallows instead of mini marshmallows?
Yes. Use the same 10 ounces of marshmallows by weight; that is about 40 regular marshmallows. Regular marshmallows take a little longer to melt than minis, so keep the heat low and stir constantly until the mixture is smooth.
Why are my Rice Krispie treats hard?
The most common causes are overheating the marshmallows or pressing the cereal mixture too firmly into the pan. Melt the marshmallows over low heat, remove the pot as soon as they are smooth, and press the mixture only enough to create an even layer. Too much cereal can also make the finished bars dry and firm.
Why are my Rice Krispie treats dry, crumbly, or falling apart?
Usually there is too much cereal for the amount of melted marshmallow, or the mixture cooled too much before it was pressed into the pan. Measure the 6 cups of cereal with level cups or use the weight measurement, coat it completely with the marshmallow mixture, and transfer it to the prepared pan right away.
Can I make Rice Krispie treats in the microwave?
Yes. Melt the butter and marshmallows in a large microwave-safe bowl, stirring during heating until the mixture is smooth, then stir in the cereal and press it gently into the prepared pan. Microwave power varies, so avoid heating longer than necessary once the marshmallows have melted.
Can I use marshmallow creme instead of marshmallows?
Yes. The original Rice Krispies Treats recipe allows one 7-ounce jar of marshmallow creme in place of the marshmallows. The finished texture may differ slightly from bars made with whole marshmallows, so use regular marshmallows if you want the texture described in this recipe.
Are Rice Krispie treats gluten-free?
Not automatically. Kellogg’s Rice Krispies cereal lists malt flavor among its ingredients, so do not assume the branded cereal is suitable for a gluten-free diet. Use a crisp rice cereal specifically labeled gluten-free and check the marshmallow and other ingredient labels as well.